Showing posts with label water effects. Show all posts

Sunday, July 31, 2016

Violinist diorama base work part 7 (and figure)

Bubble, bubble
With the resin ‘water’ in the fountain now dry I started adding the many layers of Vallejo Water Effects to the pool of water and the spout of water.  The spout of water is a piece of clear fishing line glued into place and then water effects painted over the top to make a water stream.  For the pond I tried to make the turbulent water nearest where the water stream hits.  There probably needs to be another 3-4 layers to call this one finished.


For the main base it was a bit of two steps forward, one step back.  I glued on the wooden board onto the foam (to make a more solid base for all the rest of the components to glue to) and then started the dirt ground work with some DAS modelling clay.

Cork rocks in the ground work
 Then I glued on the foam stone ground work sheet.  At this point I realised I had trimmed the stone work too much and there was a small (.5mm) gap on two sides.  Secondly the ground work would need to be raised more than I imagined to meet up with the level of the stone ground work.

Flagstones glued one, pond retaining wall done, edging being glued..
So out came the milliput and I filled in the gaps between the stone ground work and the base edge.  While I had the milliput out I also made up the stone retaining wall around the pond.

I planned to cover all the layers of the base by putting styrene sheet around the edges of the base.  So I decided to do that next so I would know the level that the ‘dirt’ ground would have to be at.  For the edges I used 0.5mm styrene sheet glued onto the foam with Shelleys Allfix glue (one of the few glues that doesn’t damage foam).

Another job going backwards is the wall that the fountain is on.  I found the right edge (originally edged in black) will need to be repainted to look like the corner of the wall instead.  That edge of the wall and the fence weren’t working together how I originally planned.

Violinist at last getting some paint love
I also got some figure painting done (finally).  I’m pretty happy with the face (but will continue to fiddle for a bit) and I blocked out the inner shirt, pants, stockings and shoes.  So far I’ve shaded the pants to near completion.  Like all my major figures I spent a few hours doing colour map work on paper first to try and sort out shading and highlight colours.  These aren’t always final but they do help me trying to get a consistent colour feel.

Painting notes - yes it really is worth the time :)
Next week will be finishing off the edging of the base and then fixing up the dirt ground work.  Some more water layers on the fountain and maybe painting the pond brick work.  Also some more figure work I hope.

Sunday, July 24, 2016

Violinist diorama base work part 6

Well painting the figure didn’t really happen.  Too many nights of broken sleep for that which makes the eyes rather fuzzy at the end of a work day.  I did get the first cut of the face done and I’m pretty happy with that.

Looks super clear...
On the base side things are all coming together.  The resin pour for the pond worked really well.  It looks totally clear.  However from the side there are some tiny micro bubbles (or maybe dust?) visible.

...but not so much
So not sure if I’ll box in the sides or keep them visible.  I’ll be covering the top now with the Vallejo Water Effect gel to get some water ripples.  I painted up three leaves to be floating on top of the pond water.  Lastly I’ll be putting on the water effect to the pond with the leaves (the water effect can be used as a glue for the leaves) on top.  Should get that finished off tonight.

Autumn leaves painted up


For the fountain/wall I varnished the fountain in a gloss varnish to add to that marble sparkle effect.  I use Vallejo Gloss varnish which I apply via an airbrush.  I find approx 50/50 varnish to water works best.  I normally do 3-4 coats but keep them very thin and let them dry (which only takes a few minutes) between coats.

Diggers casting resin and catalyst
With the fountain then varnished (and left for a day) I mixed up some clear casting resin for the base of the water in the fountain.  This was because using the water effect would take ages to build up.

Plastic lid to keep the dust off while the resin dries


If you apply the Vallejo Water effect too thick it dries white, not clear.  The Diggers brand casting resin cures without any bubbles.  It's a two part product and you buy the catalyst separately.  You have to be careful not to add to much catalyst otherwise while the resin cures it can get quite warm (or in one test case I did, too hot to touch) and potential damage items.  Too little, it may not set.  The only problem is that it the resin is slightly yellow, hence why I didn’t use in in the pond.  When the resin is dry then I’ll glue on a piece of fishing line from the fountain spout to the basin and use the water effects to make the stream of water.

Basin full of "water"

Sunday, July 17, 2016

Violinist diorama base work part 5

After a very slow start I actually got some bits done this week.  I finished off the marble effects on the fountain.  In the end I just made the whole thing marble as I didn’t want the different colours breaking up the area too much.  Once the fountain was done I started shading the bricks.  I did two levels of shading.

Fountain wall with a quick mock up with the animals, violinist goes on the box
The first level was each brick was shaded individually with the bricks on the lower sections getting more dark area and the bricks on the top sections getting more light areas.  My light to dark mix on the bricks was

VGC Charred Brown
VMC Hull Red - base
VMC Flat Red
VMC Light Orange

For the second level I did a number of glazes by adding in VMC Dark Sea Blue and VMC Light Yellow to the dark/light mixes across the whole brick area.  So the dark glaze on the lower 1/3 and the lighter glaze on the top 1/3.  I repeated the glazes a few times but reduced the area each time so by the third glaze only approx 1/9 of the total brick area was being done.  I then tied up some of the grouting that had been coloured over by the glazes.

Your friend and mine, Liquid Gloss
Next big item was pouring the resin (Liquid Gloss) for the water pond.  Been putting this off for a bit as I didn’t want it to go wrong so did the usual avoidance technique.  Finally just did it.

Mold box ready to go
After boxing up the area and covering the paint with a coat of varnish I mixed up the resin and poured in three layers.  After each layer (approx 2mm deep) I used my propane torch to get rid of any bubbles.  This way I could pour the whole amount in one go without bubbles getting trapped deep in the resin.  Did slightly melt the styrene card.
Resin in, melted styrene sheet :)
Now to leave for a day before pulling off the mold box and trimming off the edges, and then a whole week before the sanding.

The violinist, at last
Lastly I actually started to put paint the figure itself.  Been a long time coming.

Next week I will try and get the water in the fountain underway and actually paint some more of the figure.

Sunday, July 3, 2016

Violinist diorama base work part 3

Well it was a bit of shocker at work this week.  Half the team no longer there and some big questions on what is going to occur in the future.  Makes it very hard to concentrate on painting which is a bit unfortunate.

Most of this week was thinking about the water pond and trying to get a marble like effect.
Water pond underway
For the pond I sculpted the Milliput into a gentle curve around the edge of the pond.  This was then sanded down and then painted in PVA glue to seal it up.  However the PVA glue made the Vallejo undercoat I normally use crackle.  In the end I used some household ‘4 in 1’ prep paint which went on smooth.  I originally painted the pond a earth colour as per the picture but have since decided that a lighter blue with a pattern on it will look better.  Think tile mosaic.  I’ll still have some rubbish in the water I think but this way the pond is more a decorative garden pond gone to waste instead of a rough pond.
Water, but no tap??
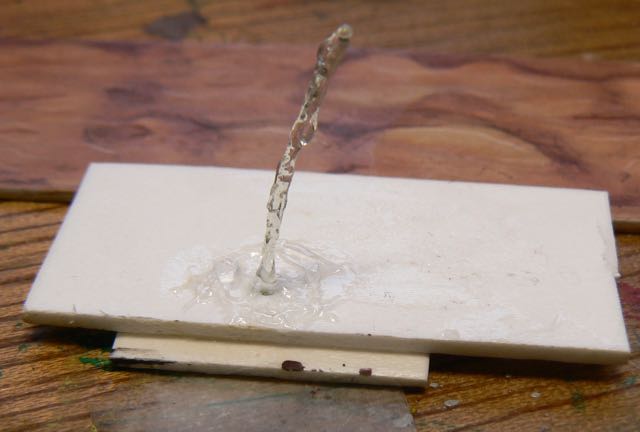
I purchased some Vallejo Water Effects to use to make the fountain spout water.  This is a very thick gel that dries clear.  Using a piece of fishing line as the core a number of coats of the gel is applied to get a life like steam of water.  I’ve very happy with the test piece and the product.  Still very disappointed with the Vallejo Still Water which is useless.

Begging bowl, coins unpainted
I needed a begging bowl for my violinist so used one I had purchase as part of a pack of 54mm diorama extras.  I used VMC Tan Yellow as the base as I wanted the bowl to look like an earthen ware.  I added a few coins to the bottom by slicing off some 1.0mm styrene rod very finely and glueing them to the bowl.  These were then painted silver.

Marble trial
I’ve also been trying to do marbling this week.  However I haven’t had much success.  I’ve been doing the ‘thin paint, then add water drops’ method to get the darker colour lines like you seen on marble.  That hasn’t been really working as well as I wanted.  I started using some Winsor and Newton flow improver (alcohol ethoxylate) which breaks the surface tension dramatically.  Very much like putting a drop of detergent in a pool of greasy water.  This helped no end.  Of course too much and the paint all separates.  In the trial piece that was working ok, but not quite what I wanted.

Since then I’ve tried the other method which is directly painting the marble lines.  Again I used the flow improver to make the paint as smooth and thin as possible.  You don’t want to see the paint lines really, rather just the suggestion of a different colour.  I think this second method is working better but need to do some more work.

Sunday, June 26, 2016

Violinist diorama base work part 2

Halfway on the charred brown between the stones
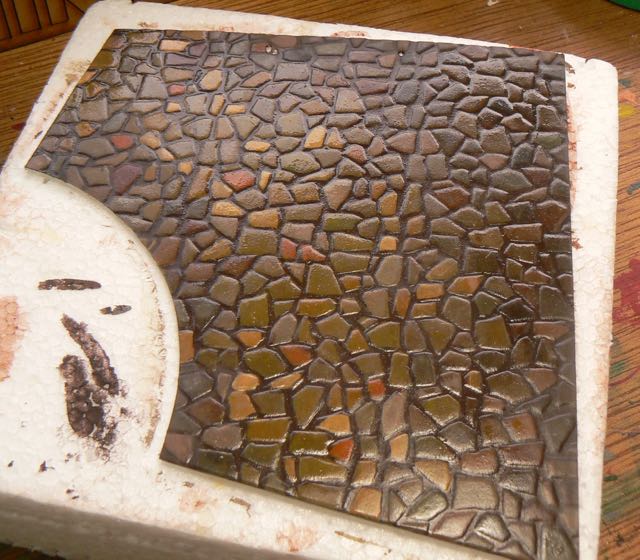
More base work.  I painted the paving stones and then repainted the space between the stones a few times (in VGC Charred Brown) to get the colour solid.  I made a lighter colour area on the pavers to represent the walkway area.  The further away from this area, the darker the paving stones.  I randomised the colours but with a lighter range of colours in the walkway and a darker range of colours away from this area.  I then did a few glazes with darker colours (burnt umber, browns) in the back section of the paving area and lighter glazes (yellow/tan) over the lighter coloured walkway area.  Finally I did a few oil washes to try and break up the uniform colours of each paving stone.

Still glossy as the oil wash dries off
For the brick wall I base coated the entire wall in VMC Hull Red.  To break up the wall I then mixed Hull Red with a number of other colours to make each brick slightly different.  The entire wall is still red, but a nice variation of the base red.

Wall and fountain
I painted in the grout lines between the bricks in a mix of VMC Tan Yellow and VGC Khaki.  By the end of that my eyes were seriously going sideways.  Before going further with the shading I put the fountain onto the wall.  As the wall was an uneven surface I used Milliput to block up around the edges of the resin fountain.

Successfully cleaned and polished
Having waited one week I sanded my test water pond that I had done with Liquid Gloss.  I went all the way from 180 grit to 2000 grit and finished off with a buffing wheel.  Good news is that I can get back to a totally clear finish.  So my idea of cutting off the meniscus and then sanding the cut area back to a smooth finish looks like a workable solution.

Starting the main base
Finally I glued on the foam to the wooden base getting ready for doing the water pond on the main piece.  I’ll coat the area in Milliput to make it water tight and to make a curve at the bottom of the wall to make it more ‘pond like’.

So next week the slow prep work on the water area and some more wall painting.  Maybe I’ll even sneak in a start on the real figure.

Sunday, June 19, 2016

54mm Violinist diorama base work

Base red bricks.  The fountain goes where the black is
More base work this week.  I finished up the sides of the wall section and finally got some paint on it.  I’ve done another small trial and I think I have the red bricks worked out.  I’m going to use a tan yellow colour of the grout as I was finding the white I used previously a bit too stark against the red.

New trial on the right
I am going to have a small water feature in the front corner of the piece.  Kind of a pond I’m thinking.  I’ve started trialling a few water effects.  First up was my old friend Liquid Gloss.  I used this two part resin previously and it worked well on my river boards.  I did a quick trial to see if it reacted with the foam I’m planning on using.  The one problem I know I’ll have is the meniscus on the mold sides.  I popped my test piece out of the mold after one day and was able to trim the meniscus off very easily.  After one day the resin has set but the edges are still soft and can be cut with a knife.  Now  I need to wait a few more days to see if I can sand the area where I trimmed and get it nice and smooth (and clear).

Liquid Gloss trial
I tried the Vallejo Still Water next.  However like a number of people it cracked while drying.  This was in a paint mix tray so there was no leakage to cause the cracking, and I was less than 3mm in depth.  Ie used exactly as directed.  The issue seems that the edges, being thinner, dry first while the centre is still ‘wet’.  Perhaps if it was an even depth then it would be ok?  However for the fountain bowl this product isn’t going to be suitable given the curved nature of the bowl.

I’m also trying the Woodland Scenics water Water Effects (I have a small amount from one of their school diorama kits.  Will have to see how that goes.  However the product never fully dries and items placed on top will indent.  This makes me think after a year the top of the water area will be covered in dust that has settled into the water.

Pre-shading pavers
I also pre-shaded my paving stones.  Each stone will be coloured individually but I’m trying to get some distinct areas.  The pre shading will help with this, hopefully.

Wednesday, June 25, 2014

The Marsh of uneven ground (but not impassable)

If this was LotR there would be dead faces...
Another piece of resin terrain I purchased from Fernvale scenics was the resin marsh base.  I wanted a piece of "bad going" terrain that was obviously rough ground but not bordering into impassable.  A brackish salt marsh fits that description exactly.  The piece is roughly circular and 20 cm wide and the resin was a nice bright safety orange colour.  A quick black undercoat fixed that.

Seeing that I had recently got an air compressor and air brush I was eager to try it out.  The marsh would be my second thing to paint.  For the water sections I used Vallejo Game Colour Scurf Green.  Then on the land section I used cheap craft paints and painted all the land a light tan (to show the blighted ground in which nothing but evil grows).  Then in more the central land areas I highlighted with a darker brown (where something might grow) using just the airbrush.  The seamless transitions between colours you can achieve with an airbrush are almost magical.  There can be (if done right) almost no line between the colours, just a change from one colour to another.  Think the ultimate wet blending technique but in 10 seconds.

With the colours (all three of them) sorted it was time to detail the marsh.  Originally I was going to keep things pretty plain but the wife rebuked me into action.  So the plan was to add water reeds (something I've never done), water effects and lastly some clumping foliage (which I had just purchased).

Water reeds
Knowing I wanted to do water reeds didn't help with the making of them.  My first few attempts with PVA glue were a little below total failure.  I tried putting down a blob of PVA glue and standing the reeds up in it but they just fell over.  So a quick trip to the googlesphere and youtube land was needed to see how it was done.  The most used technique is to twist the bunch of fibre together, put a drop of superglue on the bunch and trim as needed.  I put the superglue in the middle of the bunch and then cut the bunch in two so I would have two reeds of the size I wanted.  To add them to the march base I drilled out small holes and glued them in with PVA glue.  As I wanted this terrain to be playable I didn't put in too many reeds.  I needed space for the figures to be placed on.  Much more in the school of representative terrain than realistic terrain.  Covering the marsh in reeds and grass would look much better but then the piece would be more an impassable feature rather than a "rough going" type.  Seeing how nice the reeds I later purchased a pack of three colours of reeds for the next project.  Really it was just an excuse to buy more terrain making materials.


For the water effect it was back to my new friend Liquid Gloss.  For more on this two part resin have a read of my previous blog post on it.  I was counting on the viscosity of the resin to stop the resin from running off the sides of the water ways.  To hedge my bets on this I made sure that the resin was poured only 1-2mm thick.  In the ponds it was more at the 2mm level and at the edges I scraped/brushed it on very thinly.  Also the day was a bit cool which helped keep the resin quite tacky.  Since the water reeds were in the water I had to be very careful not to get any resin on them.  I had one slight failure and got some resin on a reed but in all it worked out.

Lastly I used some of the new clumping flock to add small bushes on the edges of the water.  These were glued on with PVA glue.  Again I went with only a few bits to keep the amount of usable space on the piece to a maximum.

Every bit of painting or piece of terrain I make I have a mind's eye view of the end result.  This was one of the few that the reality and idea came very close.

Tuesday, June 24, 2014

Terrain boards for both 28mm and 15mm figures

A gentle bend in the river

I have made a number of terrain boards in the past.  For 28mm I have a few 2x4 foot 12mm mdf boards with rolls of static grass paper stuck onto them.  Simple and cheap, and it makes the playing area look so much better having a consistent ground colour.  However after 10 years the mdf is starting to bend as the boards have to be stored propped up against a wall.  For my 15mm HoTT armies I made a dozen double sided 1 foot square 6mm ply boards and painted them green.  Then I painted a number of the with roads and/or rivers with the entry points in the same place on every board.  That way the boards can be put in any kind of layout and all the rivers/roads match up.  Nice but the painted ground doesn't look as good a static grass.  For my new boards I wanted the best of both.

2x4 foot boards are nice, but I wanted to avoid stacking them against a wall and having them warp over time.  1 foot boards are great but to get a playing area for 28mm figures you would need too many boards and they would all shift around during play.  Having figures disappear between tiles isn’t on.  Measuring under the bed I could get a 1.5 foot square board in there and they could lay flat to avoid warping.  My target of board space was 3x4 foot for Saga.  Other skirmish games (e.g. LotR) normally recommend 4x4 foot, but the placement of figures is usually 6 inches in from the edge.  Ie the playing space is 3x4 foot.  So why not just make the playing area 3x4 foot and have figure placement on the edge of the table?  Too easy.

To get 3x4 foot I would need six boards (for 3 x 4.5 foot).  They would be double sided and made out of 12mm mdf.  All the boards on one side would be plain (i.e. open field).  On the other six sides three would be river boards (two straight sections, on curved) and three road boards (two straight, one T intersection).  I would also paint the board edges flat black to any gaps between the boards would be masked slightly.  
Routed and primed
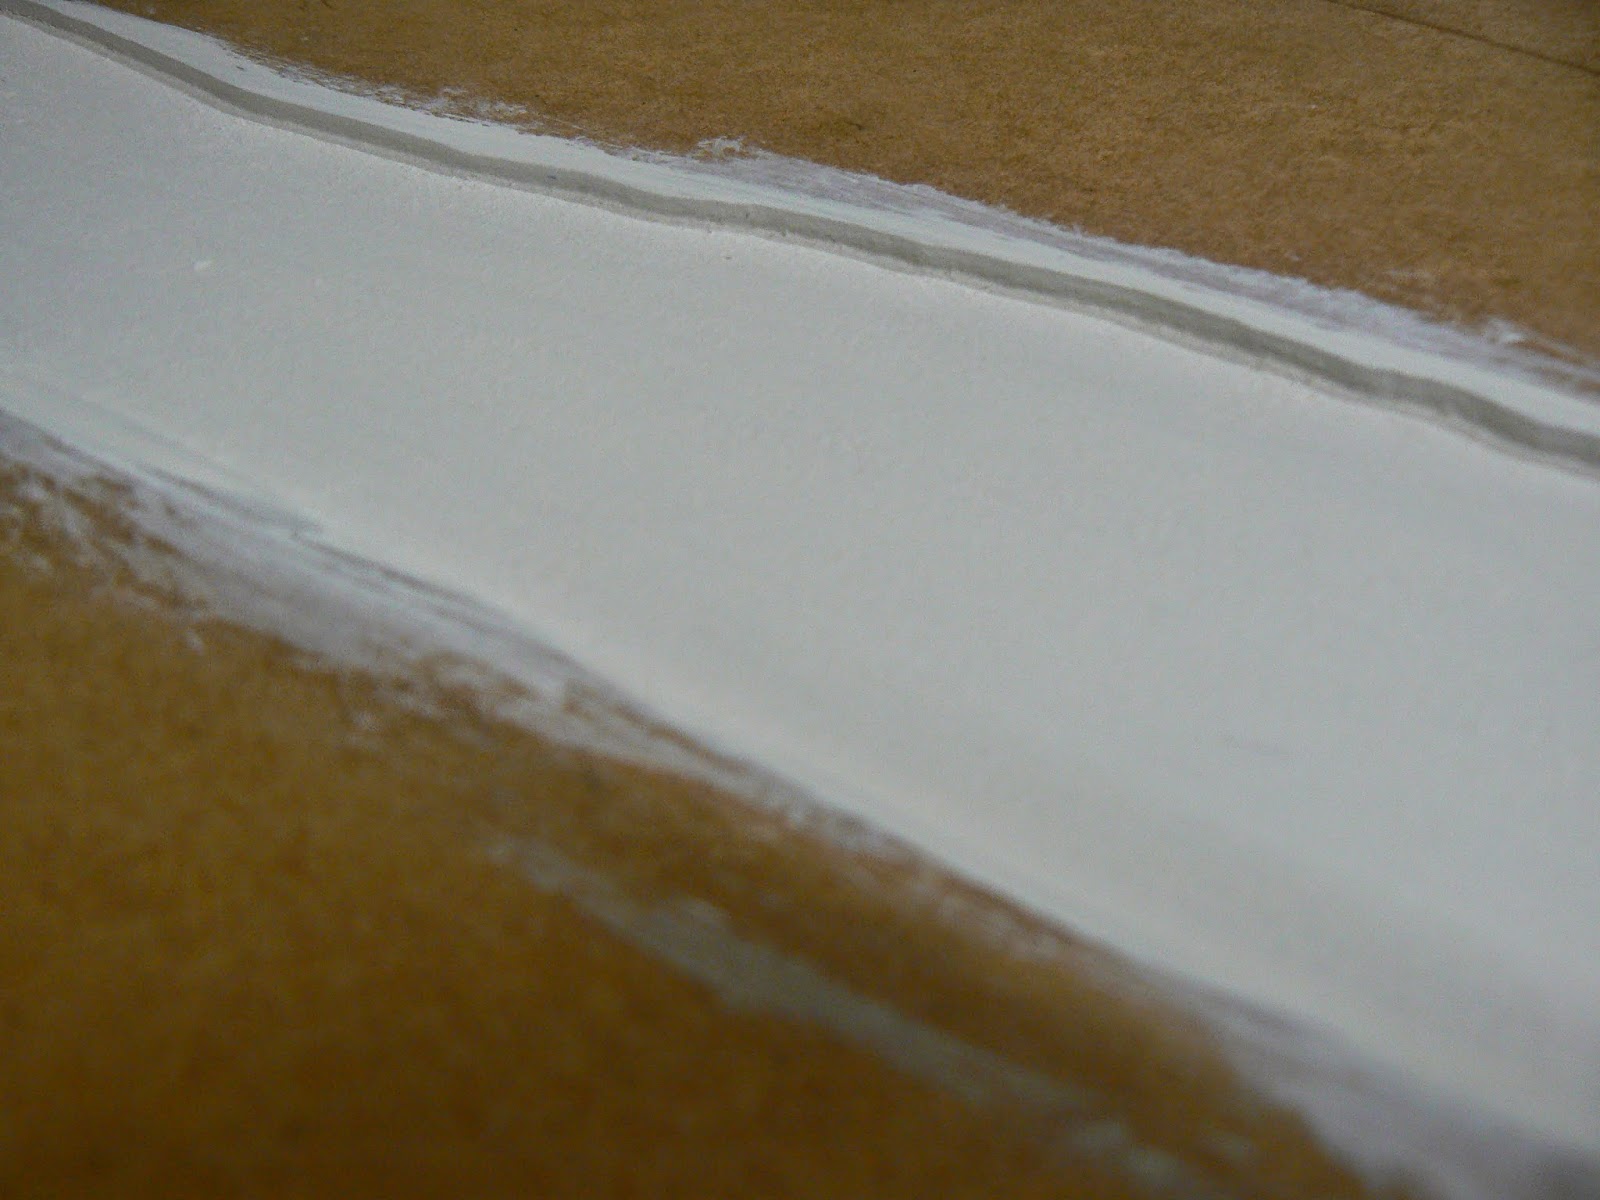
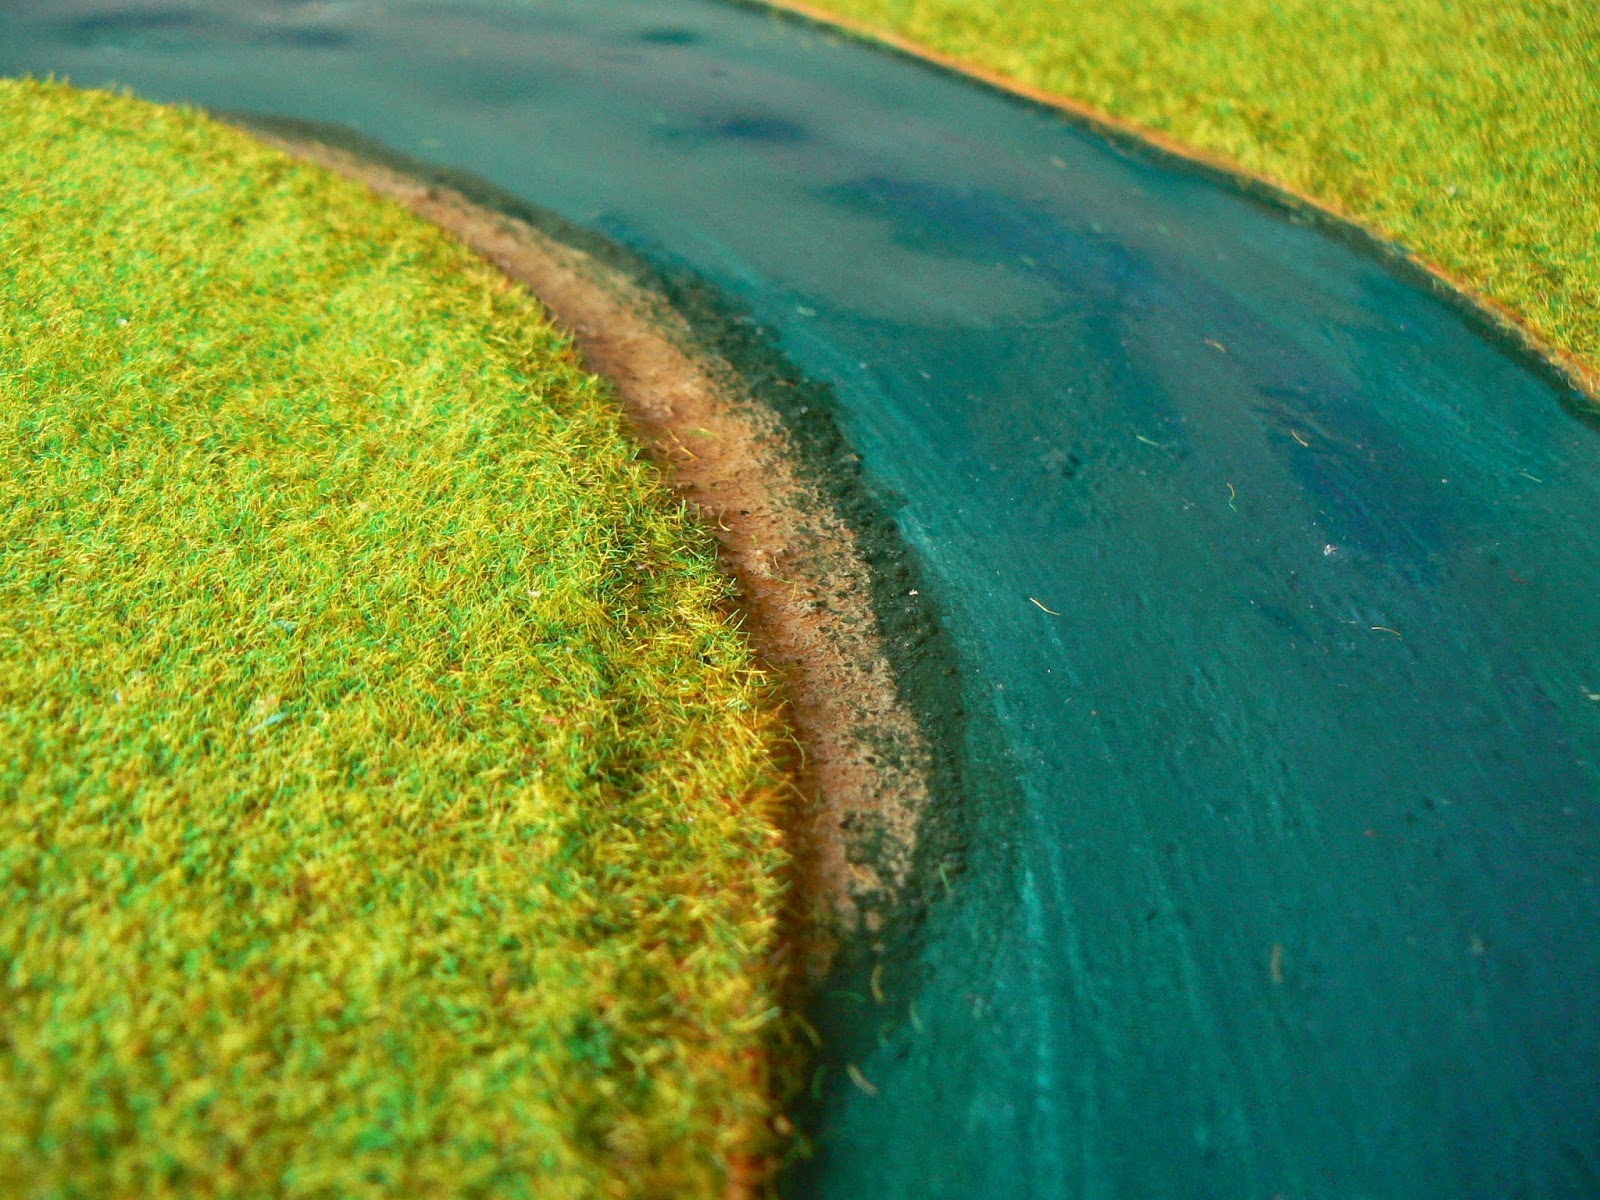
To make the river sections I routed out the mdf down 3mm.  I recommend that when routing mdf do it outside.  MDF atomises when the router hits it and goes everywhere.  It’s also toxic.  After sanding I undercoated the rivers in mdf primer.  I also undercoated the sides of the boards in preparation for painting them black later on.   The rivers were painted a light blue which got darker in the centre of the river so simulate the deeper section.  The wife then suggested to add sand to the banks of the river bends where the water would be slowest.  Like most of the wife's suggestions around terrain and painting it meant more work but a much better result.  I used a mixture of small rocks and fine sand for this, which was then painted tan.  Since the ends of the rivers were open I needed to stop the resin from running out the edges.  Some small scraps of wood covered in grease proof paper (the silicon wax paper variety) so the resin wouldn't stick to it did the trick.  Finally I mixed up a batch of Liquid Gloss and poured away.

Of course it's better to know how much you need to mix up as wasting resin just burns money and not making up enough will result in tears.  The easiest way I found to do this is remember that a cube that is 10cm x 10cm x 10cm = 1000ml = 1 litre.  Good old metric system.  So for one of my boards I just varied the three variables to suit.  My river board was 40cm long, the river was 8cm wide and 3mm.  So 40x8x0.3 = 96 = 96ml of resin needed.
Sand bar ahead
The three river boards went very well with only half of one river going a bit rough due to the "too much water" issue described in an earlier post.  You need to be extremely careful that the board is dead flat and spend some time with a spirit level to make sure.  Otherwise your river ends up with a slope.

For the roads I undercoated the mdf with primer then painted then covered them with texture paste.  I found you only need a very thin smear of paste to get a rough road effect.  Once the paste was on I used an old brush to dab the paste and create a more realistic mud road look.  This was then painted a tan colour and dry brushed a few times up to a light sand colour on the ridges.

I cut out some static grass paper (they come in various sized rolls) and glued these down with a half PVA glue/half water mixture.  While gluing down the paper I found it stretched as the glue absorbed.  It took a few minutes of pressing and then re-stretching to get all the creases out. Then I laid some heavy boards on top to keep everything flat.  Left to dry overnight the next day I came back and trimmed all the edges in the places where the grass paper over hung.  To hide the gaps between the rivers/roads and the grass sheets I painted on some more PVA glue and sprinkled some static grass.


All that was left was to paint the edges flat black and finally setup some figures.

Water effects good and bad

An oasis in the painting table awaits...


This resin piece is done by Fernvalescenics who I came across at Cancon a few years ago.  It's nice and simple and was quite cheap at around $8 from memory.  I aimed to do a simple paint job add texture and also wanted to try water effects. 

At that time there was no game store near me so I ended up looking in Hobbyco in the railway scenic section and online to see what other people did.  Hobbyco had the Ziterdes “Water-Drops (colour)” set for sale and it seemed like quite a good product.  Seemed.  The key point on this approach is that you have to melt the plastic beads (clear and coloured) in the oven, then pour.  After 40mins your kitchen smells really bad and you have a pourable molten plastic mix.  So you have to be very careful on what you are pouring into for warping due to heat and melting of paint, etc.  The end result is quite nice and since it can be coloured (something most other water effects can't) I thought this was a winner.  However in Australia it gets quite warm, and the plastic used doesn't set or ever fully harden.  Really it is more a semi cooled plastic with a low melting point.  Ie it can be reused just by heating it up again.  So in a 40 degree day the entire piece gets quite tacky.  I left another piece of terrain on top of my oasis and now I have a nice bit crease mark across the pond.  Bit of fail whale there.  I also did a small test river section on a terrain board and left the board propped up against a wall.  The next day half the river had slid down the board!  Time for a different approach for terrain board rivers.

The head waters

Another product I had seen mentioned was called liquid glass (and other similar brand names).  It is a two part resin that is mixed at room temperature and self levels.  It is made as a replacement for multiple poly coats put on wood, etc.  Unable to find any in hardware stores I found the Liquid Gloss brand in Eckersley’s art store here in Sydney.  It can be coloured with inks during the mixing process.  It takes a day to harden and seven days to be fully cured.  After that it's rock hard and can even have hot items placed on it without marking the surface.  You do have to mix the product very well (5 minutes of constant stirring) but any air bubbles can be blown out with a propane/butane torch.  Just be careful as all those popping air bubbles does make the flame flare up briefly.

Before I did any river pieces I did a number of small trial runs to work out the drying time.  I also wanted to sculpt the surface to create a ripple effect for the river pieces.  Dead flat water isn't natural, so a gentle ripple of the entire river catches the light and makes the piece look much more realistic.  At around 22 degrees Celsius the ideal time to sculpt was approx 2.5 hours after pouring.  Wetting my finger so it wouldn't stick I would depress the resin and it would hold the shape.  But the resin would still try and self level, so any depression would be a quarter the size after a few minutes.  So I would have to repeat the procedure a number of times over an hour or so.  If left too long before sculpting the depressions wouldn't hold to the level I wanted.  Also too much water would give the surface a milky and rough looking finish.  This is why it's best to do some trial runs first.  Better to ruin a few small batches then an entire river board. 

With respect to colouring the resin I found Citadel inks worked well.  The resin had the same ink mixing properties as a similar volume of water so I could use water to work out how much ink was needed to get the colour I wanted.  In all cases it was much less than I first thought.  My first experiment used a single drop of blue ink which resulted in the darkest blue water ever seen.  Rather than using a pipette dropper I ending up using a small brush and smearing a small amount of ink in the mixing pot.


In the end I had a solution for water effects that was reasonably priced, sturdy and repeatable in behaviour.  Next steps would be making terrain board tiles with recessed rivers.

Rippling river action